How To Start A Blog: How To Create Your First Blog Post In WordPress
Did you know? Writing is an important part of blogging. Learn how to create your first blog post in WordPress.
Have you ever boiled pasta?
Sure you have! You boiled the water, added salt, and threw in your favorite pasta.
Then you waited.
To see if it was cooked, you took a piece of pasta and chucked it at the nearest wall to see if it sticks.
At least that is how I learned to tell if it was cooked.
Disclosure: I may receive commissions for purchases made through links in this post.
Writing for your blog, without the proper guidance and research, can feel like you are chucking all your awesome content out there to see what sticks.
It’s a lot of energy, a lot of hard work, a little hope and a lot of “no clue” going on, am I right?
And when little to nothing sticks, it can be very frustrating and disheartening.
But with these easy steps, you will feel much more confident pushing publish.
Up to this point, you have:
- Picked a great domain name
- Purchased web hosting and installed WordPress
- Chosen and installed your Theme
- Figured out who you are writing too
- And fixed up your WordPress Dashboard settings.
If not, be sure to go back and do the missing steps.
And now you are reading to get writing!
Writing Your Blog Post:
Writing is a massive part of blogging. From creating blog posts, social media descriptions, writing emails to your list and more.
And if you struggle my only advice is keep writing. Practice really does make you better.
As much as I love to write, I struggle with grammar. I use Grammarly which is free to help catch a lot of my errors.
I also get my kids to read my posts before I publish them when I can. They love pointing out my errors 😉
When you are writing content for your blog, you need to remember who you are writing for and how you can help them.
Remember, your readers aren’t coming for you.
Sure, personal stories and photos will add to spice to the post and draw your reader to connect with you on a personal level. But the real meat of your blog posts is the value your readers will find.
High-quality posts provide answers your readers are looking for.
What Is Considered “High Quality”?
Quality posts should be useful.
These might be tutorials, recipes, resource lists, roundups, etc., just to name a few.
When you are done writing, ask these questions:
- Was this information useful?
- How does it help my reader?
- Does the article make sense?
Hint: Before you hit publish, preview and read it out loud. (The video below will show you how to “preview”, keep reading!)
Quality posts should answer the questions/problems of your ideal reader.
Make sure to hit all the points: How, what, when, where, why and who
Pay attention to what readers are asking and provide the answer. You’ll find these questions in the comments of blogs, on Facebook Pages in your Niche, or from the research, you did when identifying your ideal reader.
I never planned on writing how to get started blogging, but readers kept asking for a detailed guide.
Quality posts should provide information, detail, and resources needed.
Have you ever gone to a post that promises the answer to find 2-3 sentences that leave you hanging?
Don’t do that to your readers.
I’ve read posts that should be 600 words for SEO purposes. I’ve also read longer is better.
My favorite advice is: Make it as long as it needs to be. Don’t stuff your posts with useless filler and fluff to just hit a word requirement.
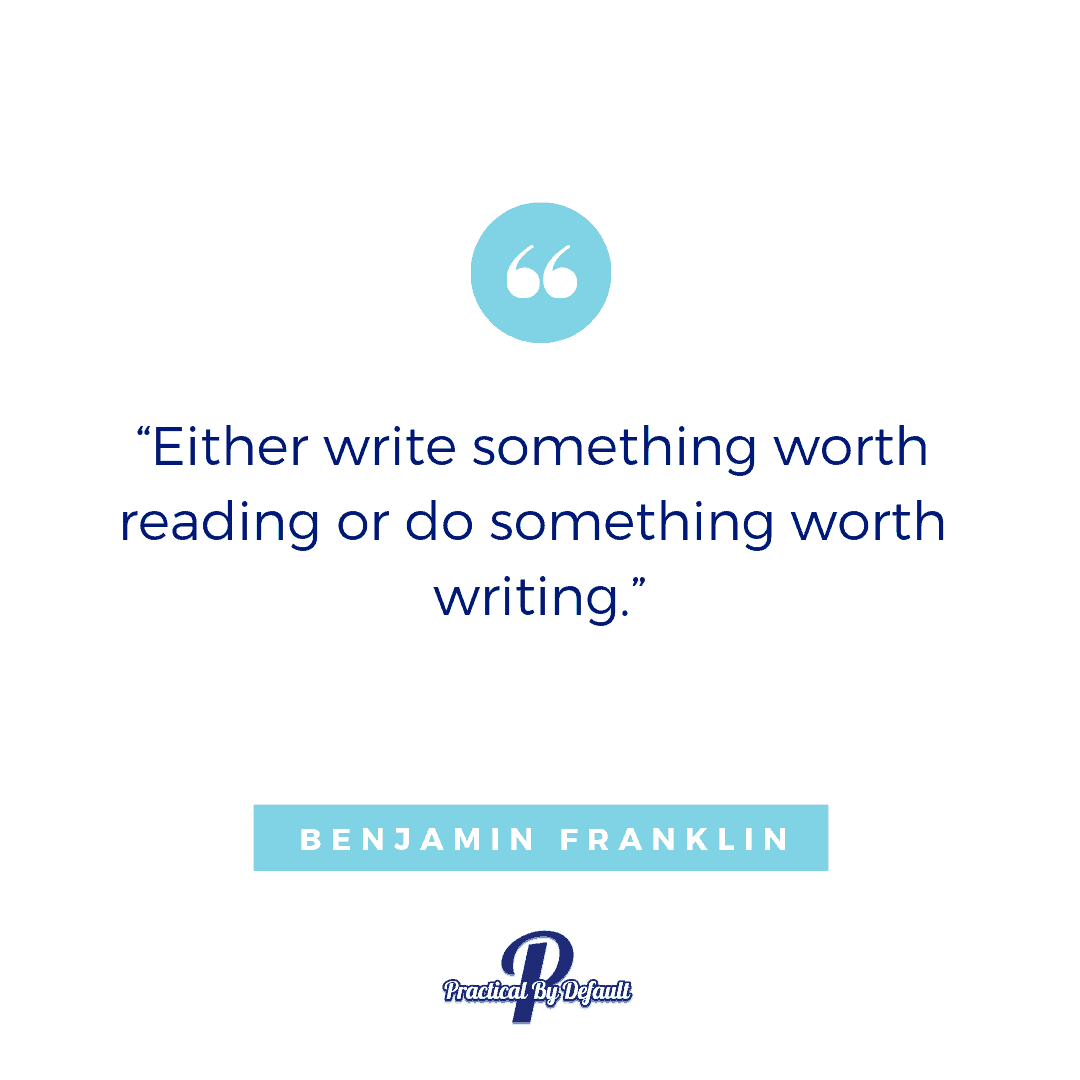
Remember, write something worth reading. If you’re blogging is a business, make your content valuable.
How To Format Your Blog Post
Formatting is important. This includes things such as using headlines, bullet points, bolding, spacing, images and more.
Keep in mind, that most of your readers are on mobile.
A few tips for writing your posts are:
Ditch the rules.
Blog writing is more formal. You need to write to one person, your ideal reader, and keep it simple.
Break up the text.
Use white space, images, and formatting such as bullet points to break up the text. Readers like to skim to the points they want.
Make the important ones stand out.
Keep paragraphs short.
Your paragraphs should be 3-4 sentences otherwise, you end up with blocks of text that turn off readers.
After you hit publish and before you share it out, check your blog post on your cell phone and see what it looks like. If the paragraph is too long, go back and break it up.
Each post you write should include these 7 elements:
“A keyword phrase, good title, image, good content, call-to-action, signature, and a PS. Keep reading for the details on each – and a little bonus: the 8th element.” –source
How To Use Images And Graphics
In the video below, I show how to add “media” files.
Images are a huge part of blogging and extremely important.
Images are important because they draw in your reader, break up the text, and illustrate your posts.
Many social media platforms are image dependent such as Instagram and Pinterest. They are even important on Twitter and Facebook.
When I first started blogging, I thought I had great images. Nope. I am still working on replacing them. Ugh!
You have a few options when it comes to getting great images.
You can:
- Take your own
- Use free stock images
- Use paid stock images
There are a ton of great places to get free images but you need to make sure they are legal to use. Look for photos that have been released free of copyrights under Creative Commons CC0, you’ll find this information in the terms of services.
I use CC0 ones or buy stock photos when I can not take my own because I don’t need to remember to give anyone credit for them or ever getting into trouble. Do NOT copy an image off of Google or other blogs!
My Favorite Places For Free Images:
By the way, I highly recommend signing up for Creative Market’s email. On Mondays, they send out 6 free goods you can download, including fonts, images, blog design and all sorts of fun things!
Check out this great list of totally free high-quality stock photos and editing tools.
Where I Get Paid Images:
I use Deposit Photos when I need to buy an image because I can sort by color, people or undiscovered.
You can also buy photos from Creative Market and Ivory Mix.
Lastly, be sure to add text and your logo or website URL. I love using Canva to edit images, resize and add text. I also use them to create quote graphics like the one above.
Monique has a great walk-through on how to use Canva to create a Pinterest Image.
How To Put Your Post In WordPress
I created this video for you to walk you through putting your blog posts in WordPress.
Or click here to watch on Youtube
Before you begin, Log into your WordPress Dashboard.
Choose New Post from the top or left.
Remember my dashboard is going to look different from yours. This will depend on your theme, plugins, and more.
I’ve broken the above video into time stamps so you can skip to the needed part.
Time Stamps:
- 0:24 – 2 ways to add a new post
- 0:56 – Where to add your title
Note: Headings are shortened to H plus a number. Each number represents different sizes and helps break up the text.
- 1:06 – Permalinks and how to edit it before publishing. Never change this AFTER you hit publish. If you do, it will break your links. Read more about changing your permalink structure here.
- 1:33 – Adding Media Files and format them within your post.
- 3:16 – Adding and formatting text, including headings, bullet points, changing the font colors, etc.
- 6:14 – How to insert links.
- 7:13 – Exploring the Visual Editor aka WordPress WYSIWYG (what you see is what you get) editor.
- 9:20 – How to save draft, schedule post, edit, or publish posts
- 10:01 – Categories (Read more about that here) scroll down to almost the bottom.
- 10:42 – Featured Image. These come from your media library.
What’s next? Start writing.
I recommend spending time each week to do a brain dump. Set a timer and write out all the ideas that pop in your head for your blog. Don’t get fussy on spelling, grammar, or whatever. Just get it OUT of your head and onto paper.
Next, take the time to organize your brain dump. Cross out anything that doesn’t fit with your niche. Take note of what you need to do more research on. And start putting your ideas into topic categories.
One idea is to create a folder on your computer with your blog name, and then inside that folder, create one for each topic. Add your post ideas or rough drafts and save them in the folder topic they belong.
Lastly, keep learning. Do some serious blog learning. But don’t just read. TAKE ACTION. Learning without action gets you nowhere.
Here are a few resources to get you started:
- The Best Blog Format Free Templates
- 3 Steps to Start That Blog You’ve Been Dreaming Of Free, perfect for all beginners.
- How to Blog for Profit without Selling Your Soul Budget friendly, at around $10.
- The Knowtbook Amy keeps updating this resource, around $47
Now get writing!
📌Don’t let this post get lost in the internet abyss – pin it to your Pinterest board now!
Hi, I’m Jen. I help working moms juggle their career and homeschool their kids by providing support, systems and tools. You are warmly invited to Join the Online Community Here!


